.webp)
Protecting outdoor possessions from the elements is a practical and cost-effective option with corrugated sheeting roofing. Layered sheets are the best roofing material for sheds, pens, and other open air structures since they are, areas of strength for light, simple to introduce. This article will discuss the means and things to ponder while material a shed with ridged sheets, as well as the necessary materials, how to introduce them, and how to keep them with everything looking great.
What materials do you need to roof a shed with corrugated sheets?
To roof a shed with corrugated sheets, you'll need the following materials:
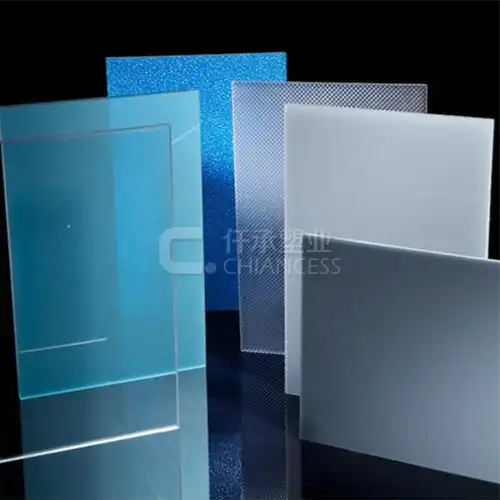
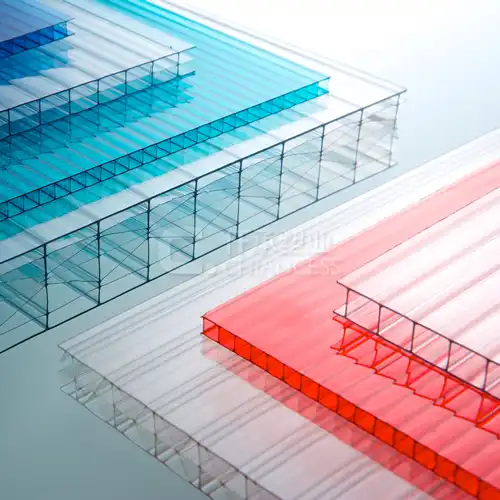
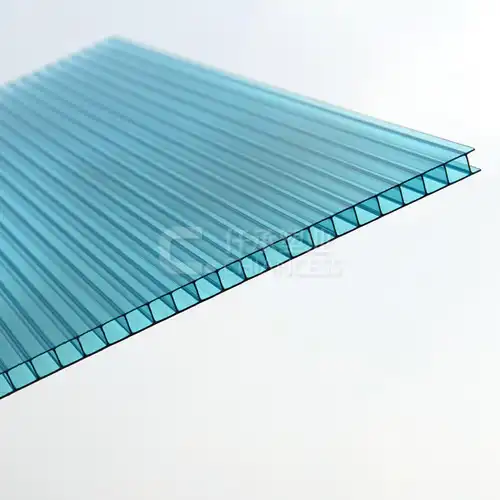
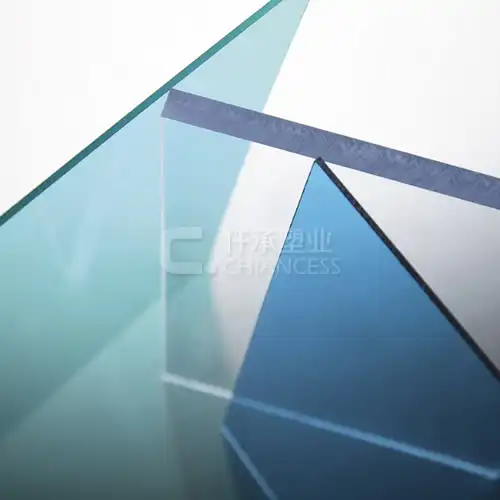
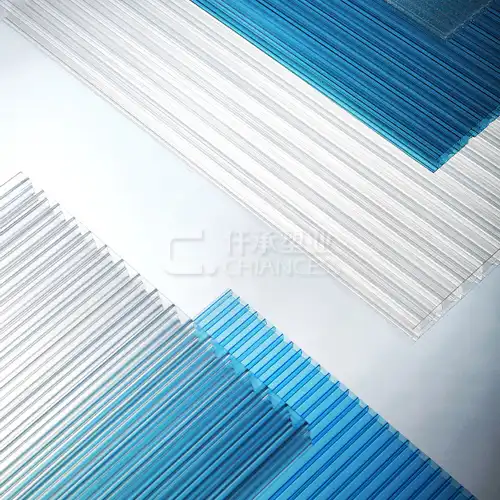
Corrugated Sheets: When selecting corrugated roofing sheets for your shed, consider materials such as metal (like galvanized steel or aluminum), polycarbonate, or fiberglass. The choice will depend on factors such as durability, budget, and specific project requirementsPolycarbonate sheets provide strength combined with transparency, allowing natural light to enter while maintaining durability against impacts. Fiberglass sheets are lightweight yet durable, offering good insulation properties and resistance to corrosion. The size and quantity of sheets required will vary based on the dimensions and slope of your shed roof, ensuring adequate coverage and effective water drainage to prolong the shed's lifespan.
Fasteners: When fastening corrugated roofing materials, it's crucial to select suitable screws or nails specifically designed for this purpose. Opt for rust-resistant options, especially when using metal sheets, to ensure longevity and structural integrity. Proper fasteners help securely attach the roofing while minimizing the risk of corrosion over time, maintaining the roof's durability and appearance. Pay attention to manufacturer recommendations for fastener types and installation techniques to achieve optimal results and ensure the roof's resilience against weather elements and environmental factors.
Ridge Caps and Side Flashings: Even though using these finishing components is optional, it is strongly recommended to achieve a neat appearance and stop potential water leaks along the edges and ridges. These extras assume a significant part in guaranteeing a solid seal and upgrading the general toughness of the material construction. You can effectively stop moisture from getting into the roof and keep the roof's integrity over time by using these parts. The roofing system's aesthetic appeal and functional performance are enhanced when these finishing components are installed correctly, bringing peace of mind regarding weather protection and longevity.
Sealant: To ensure a secure and watertight installation of corrugated plastic sheets, it is highly advisable to use waterproof sealant or roofing tape on the overlaps and edges.The purpose of these materials is to create a strong barrier against moisture, preventing water from entering the roofing through any cracks or joints.By applying a quality sealant or tape, you can significantly enhance the durability and weather-resistance of your roof, protecting it from leaks and potential damage.
Tools: When preparing to install corrugated roofing, it is essential to have the right tools and safety equipment on hand.A screwdriver or drill with appropriate screw bits is necessary for fastening the sheets securely. A measuring tape is crucial for accurate measurements, ensuring a precise fit of the roofing materials. Use a marker or chalk to mark cutting lines and screw placements clearly. A sturdy ladder is needed for safe access to the roof.Additionally, wearing safety gloves protects your hands from sharp edges and rough surfaces, while safety goggles shield your eyes from debris and dust.Proper preparation and safety measures ensure a smooth and secure roofing installation process.

How do you prepare the shed roof for corrugated sheets?
Before you start installing the corrugated sheets, follow these steps to prepare the shed roof:
Measure and Plan: Measure the dimensions of your shed roof to determine how many sheets you'll need. Plan the layout to minimize cutting and waste.
Check the Roof Frame: Ensure the roof frame is solid and can support the weight of theproducts. Make any necessary repairs to the frame before proceeding.
Install Underlayment (Optional): Consider installing an underlayment of roofing felt or a plastic vapor barrier on the roof frame to provide extra weather protection.
Check for Slope: Ensure the shed roof has the correct slope (pitch). The minimum recommended slope for corrugated roofing sheets is usually 5 degrees (about 1 in 12).
How do you install corrugated sheets on a shed roof?
Now, let's go through the steps to install corrugated sheets on your shed roof:
Lay the First Sheet: To begin the installation process, start at a corner of the roof. Align the first product with the roof's edge, ensuring a 2-inch overhang at the eaves (edges) for proper water drainage. Use a chalk line or marker to mark the positions where screws will be placed, ensuring they are evenly spaced and aligned. This step helps maintain consistency and accuracy during the fastening process. By following these guidelines, you can ensure a secure and visually appealing installation of the corrugated plastic sheets, providing effective protection against the elements while maintaining a professional finish.
Pre-drill Holes: Before driving the screws into the marked positions, it's essential to pre-drill holes. This precautionary step helps prevent the corrugated sheeting from cracking under pressure during installation. By pre-drilling holes at the designated locations, you ensure a smoother and more secure fastening process. This method also reduces the risk of damaging the material, maintaining the integrity of the roofing system. Properly sized drill bits matching the screw diameter should be used to achieve optimal results. This approach not only enhances the durability of the installation but also ensures a professional and long-lasting finish for your roof.
Attach the Sheets: Fasten the sheet in position using screws inserted through the pre-drilled holes. Drive the screws into the crest of the corrugation, avoiding the valleys, to minimize the risk of potential leaks. Anchoring the screws in this manner helps maintain the waterproof integrity of the roofing system by preventing water ingress through the fastening points. This approach also enhances the overall stability of the sheets, ensuring a secure and long-lasting installation. By following these guidelines, you can effectively safeguard against water penetration and prolong the lifespan of your corrugated roof.
Overlap Sheets: Make sure that each sheet of corrugated material overlaps the one before it by at least one full corrugation, which is about 1.5 inches. This cross-over is urgent for appropriate water seepage and to forestall spills at the joints. Apply a generous amount of roofing sealant or use high-quality roofing tape along the overlapping edges to improve your roof's waterproofing. This extra step makes a hearty obstruction against dampness penetration, guaranteeing that the material framework stays watertight and tough.
Cutting Sheets: Depending on the material of the sheet, select the appropriate cutting tool if you need to cut corrugated plastic sheets to fit the end of a row. For metal sheets, use tin snips, which are designed to handle the toughness and thickness of metal without causing jagged edges or significant deformation. A fine-toothed saw is best for cutting plastic sheets because it makes cuts that are clean and precise without cracking or damaging the material. Ensure you measure carefully before cutting to achieve an exact fit. Wearing protective gloves and goggles is recommended to safeguard against sharp edges and debris during the cutting process. This approach ensures a smooth and professional finish, maintaining the integrity and appearance of your roofing installation.
Install Ridge Caps and Flashings: After positioning all the corrugated plastic sheets, proceed to install ridge caps along the roof's ridge and flashings along the sides. The ridge caps should be carefully aligned and secured over the peak of the roof, ensuring they cover the top edges of the sheets to create a continuous barrier against water infiltration. Similarly, install flashings along the edges and corners of the roof, meticulously sealing any potential entry points for water.This comprehensive sealing process is crucial for maintaining a watertight roof, preventing leaks, and enhancing the overall durability and performance of your roofing system. By taking these steps, you ensure a robust, weather-resistant installation that effectively protects your structure from the elements.
Conclusion
Depending on the size of the shed, roofing it with corrugated sheets is a simple process that can be completed in a day or two.Creased sheets offer solidness, climate opposition, and an extensive variety of plan choices, settling on them a well known decision for both DIYers and experts.By following the means illustrated in this article, you can guarantee a watertight and tastefully satisfying rooftop for your shed.For more information about roofing materials and installation techniques, or to inquire about our products, please contact us at simon@chiancess.com.
References
Metal Construction News. (2023). Corrugated Metal Roofing: 5 Benefits and Uses. Retrieved from https://www.metalconstructionnews.com.
Polycarbonate Roofing. (2023). Benefits of Polycarbonate Roofing Sheets. Retrieved from https://www.polycarbonateroofing.com.
DIY Doctor. (2023). How to Install Corrugated Roofing. Retrieved from https://www.diydoctor.org.uk.
This Old House. (2023). How to Install Corrugated Roof Panels. Retrieved from https://www.thisoldhouse.com.
Lowe's. (2023). Install Corrugated Roofing. Retrieved from https://www.lowes.com.
The Family Handyman. (2023). How to Install Corrugated Roof Panels. Retrieved from https://www.familyhandyman.com.